The count down begins
It seems that I am working towards or looking forward to a lot of things currently.
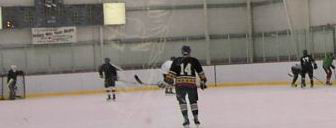
 This morning hubby left for the last hockey "tournie" of the year. If all goes for him he will come home victorious on Sunday. If all goes well for me he will be home on Saturday. ...of course I don't wish them any bad luck ...but
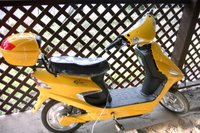 My bike continues to receive much needed care. I am told that it will be another week. ...another week of sunshine. ...another week of perfect bike riding weather. ...another week without.
 My web site is managed by a capable, talented web designer. Unfortunately, many happy customers have found her. So her desk is full. I attempt to wait patiently for my web site updates.
 ArtCraft has informed me that they are waiting patiently for my inventory list. They will continue to wait patiently until April 19th. Will I make the deadline? Hope so.
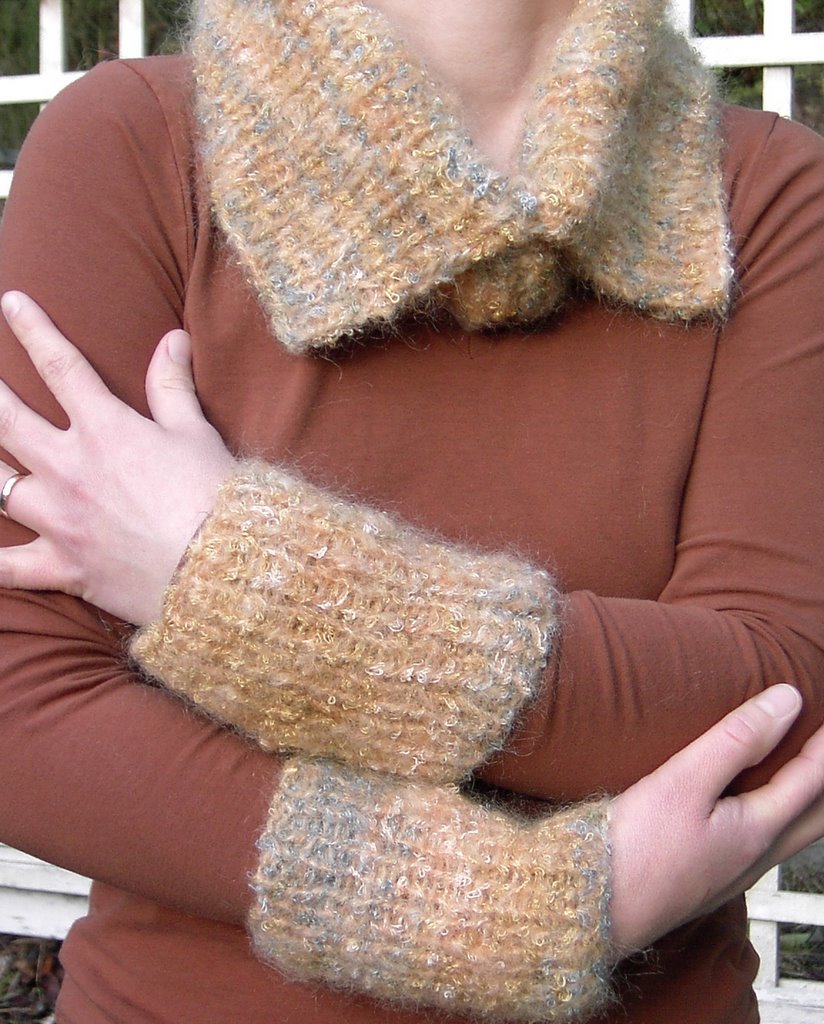
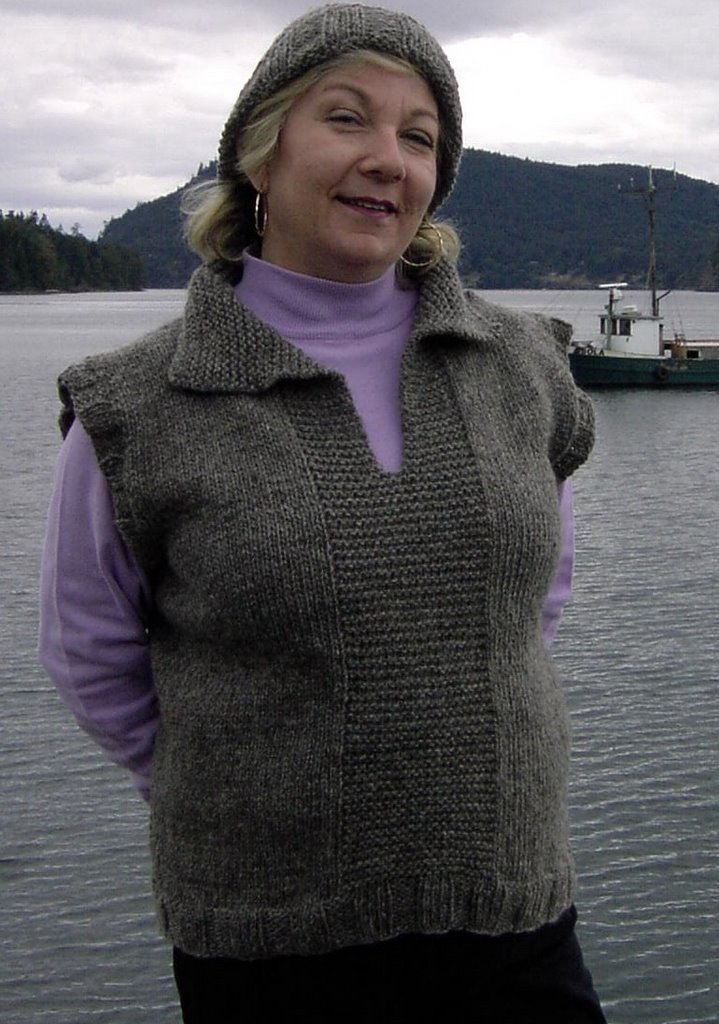
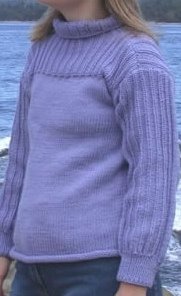
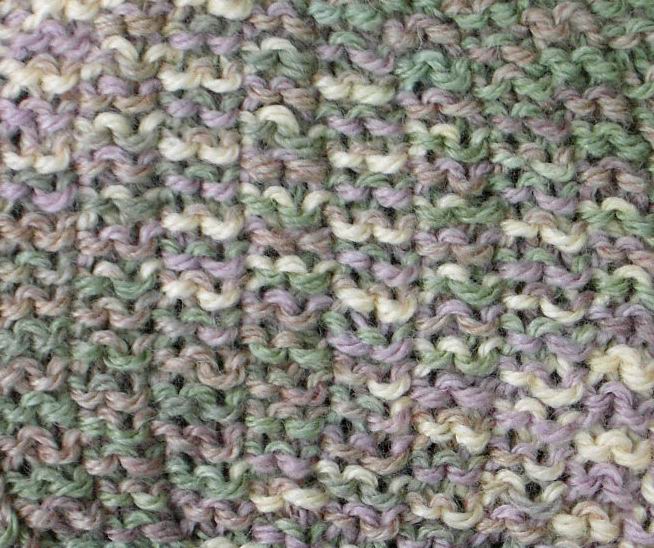
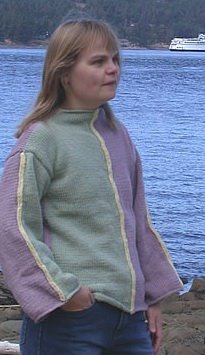
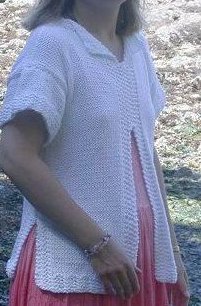
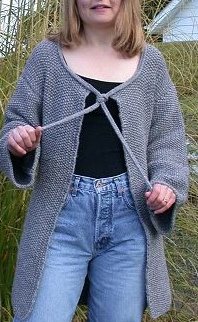
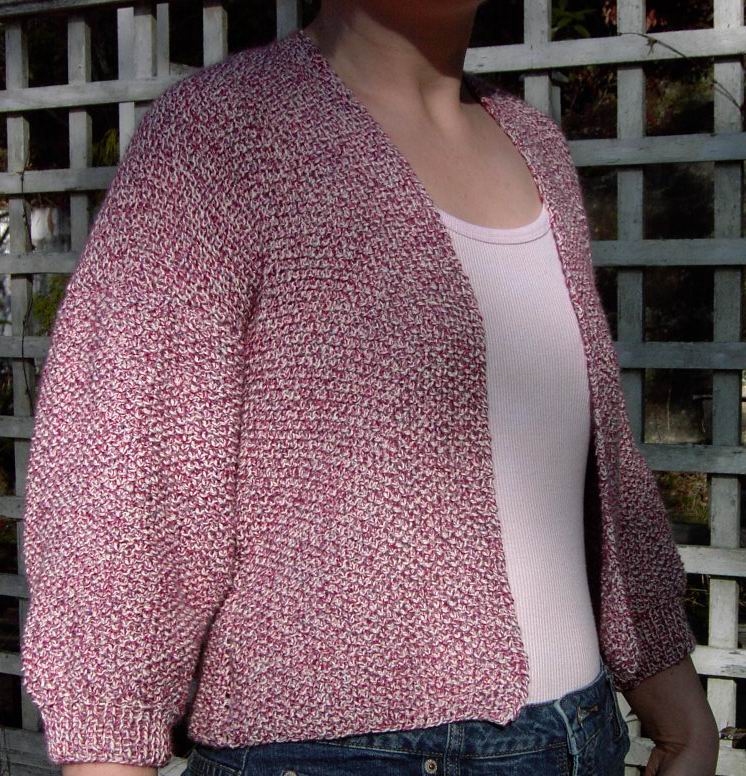
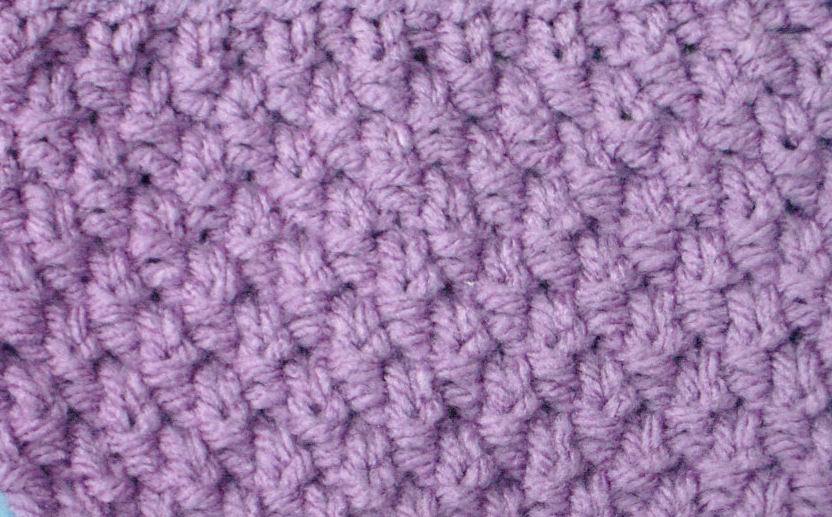
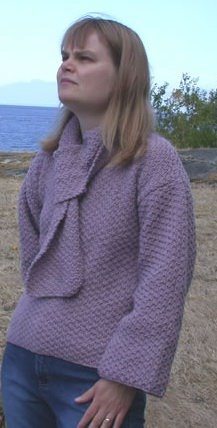
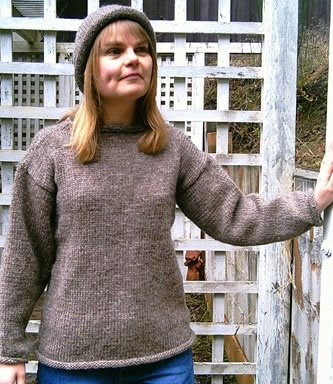
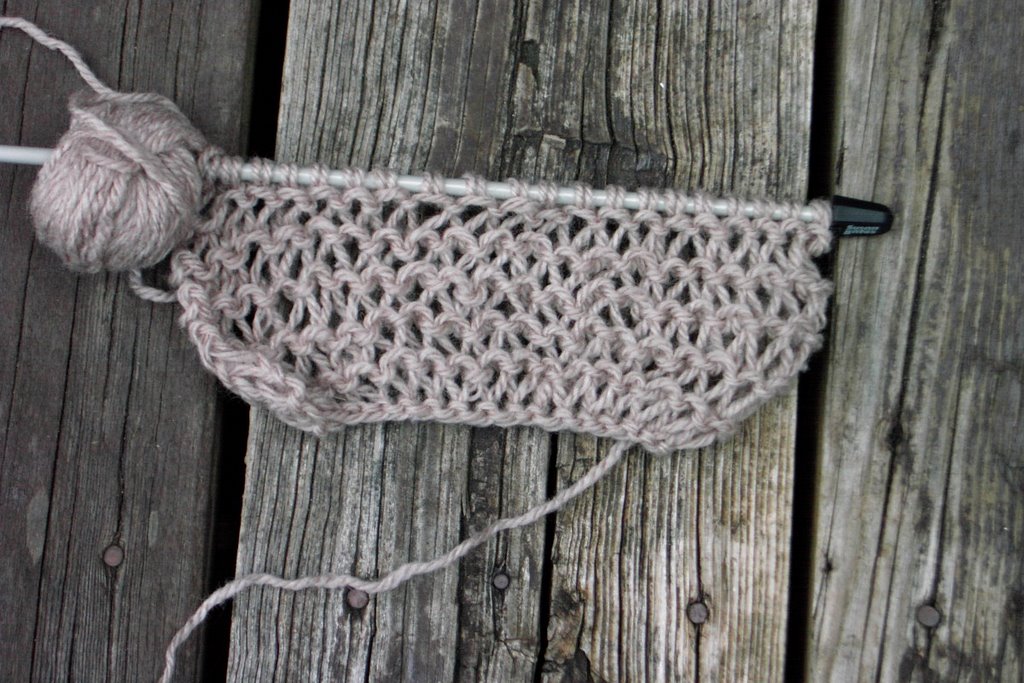
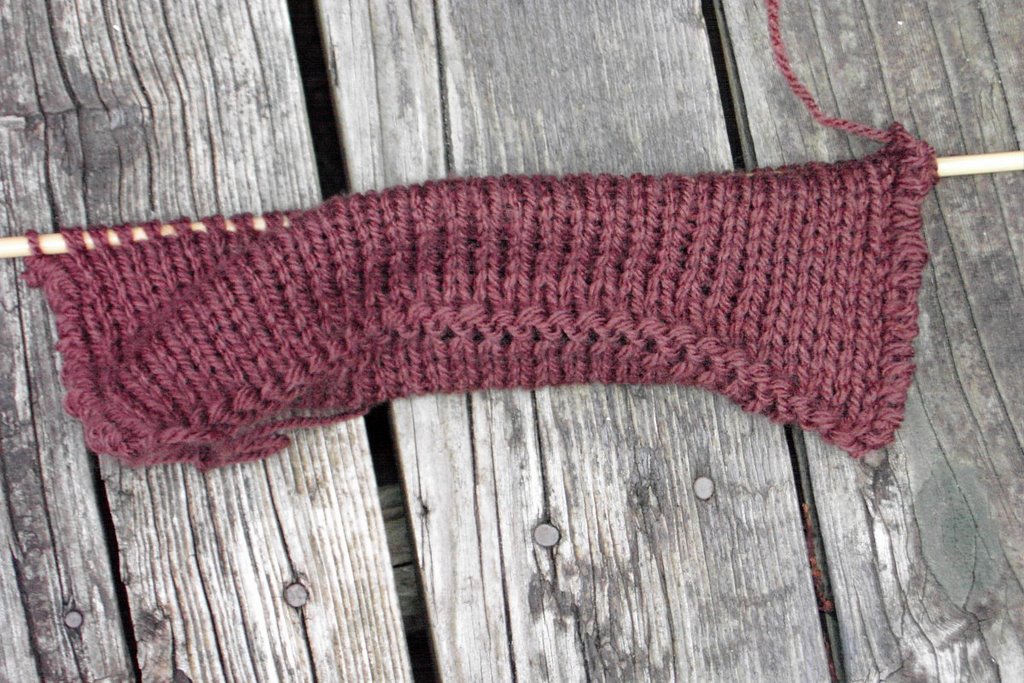
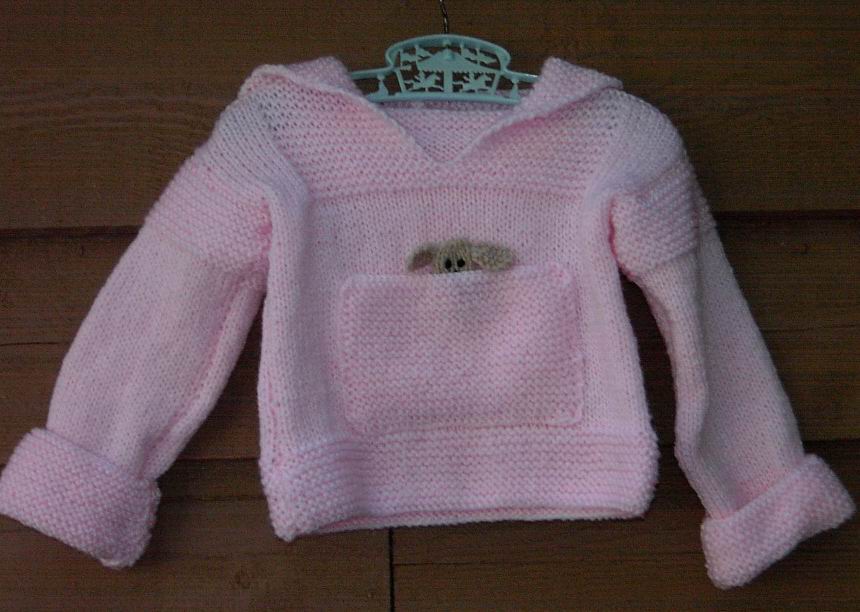
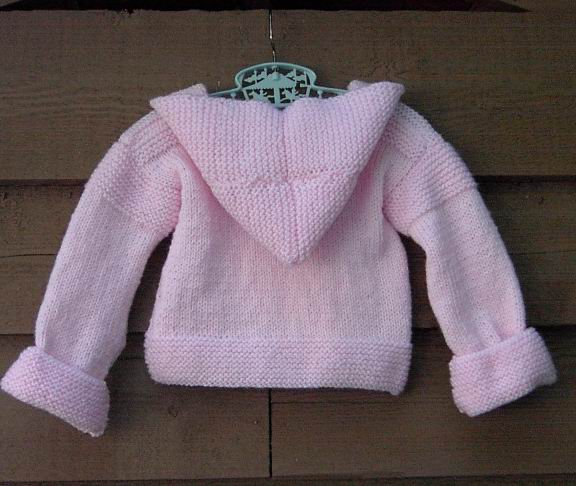
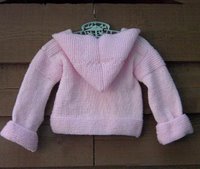
 I await "the" issue of Knit Together that features "Hey Blondie". "Hey Blondie" is a tribute to the iconic blonde movie stars of the 1950s and 60s. I used Kraemer Yarns "Little Lehigh" in the design. I highly recommend this cotton/acrylic blend.

It seems that I am working towards or looking forward to a lot of things currently.
 This morning hubby left for the last hockey "tournie" of the year. If all goes for him he will come home victorious on Sunday. If all goes well for me he will be home on Saturday. ...of course I don't wish them any bad luck ...but
 My bike continues to receive much needed care. I am told that it will be another week. ...another week of sunshine. ...another week of perfect bike riding weather. ...another week without.
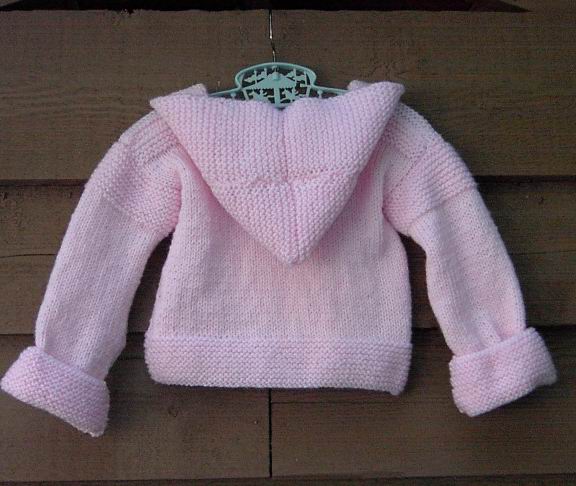 My web site is managed by a capable, talented web designer. Unfortunately, many happy customers have found her. So her desk is full. I attempt to wait patiently for my web site updates.
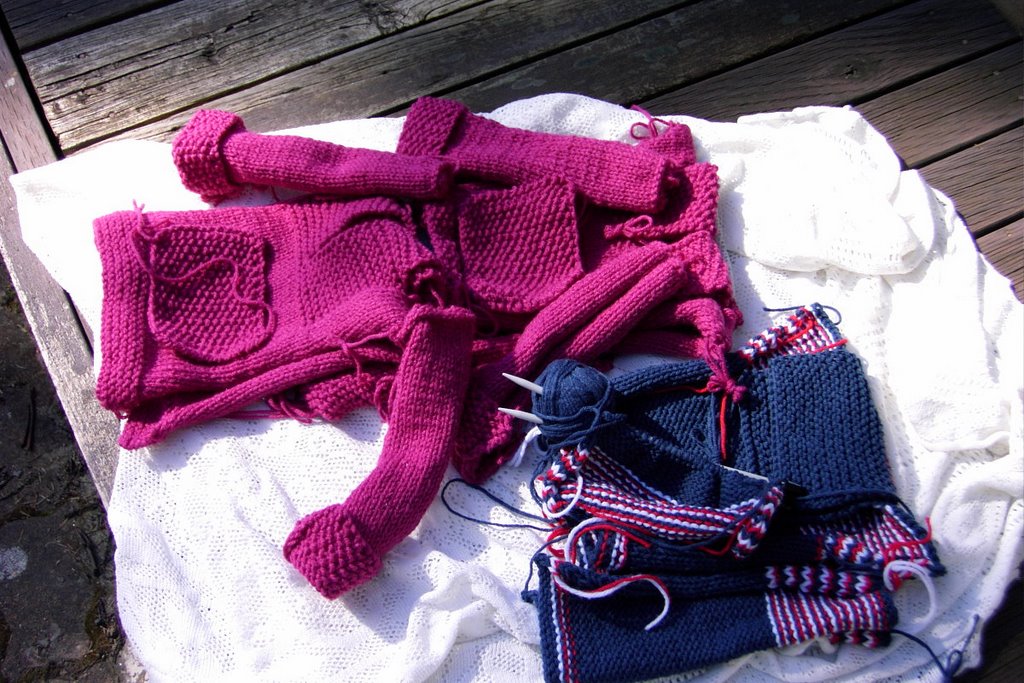 ArtCraft has informed me that they are waiting patiently for my inventory list. They will continue to wait patiently until April 19th. Will I make the deadline? Hope so.
  I await "the" issue of Knit Together that features "Hey Blondie". "Hey Blondie" is a tribute to the iconic blonde movie stars of the 1950s and 60s. I used Kraemer Yarns "Little Lehigh" in the design. I highly recommend this cotton/acrylic blend.
A couple of days (or was it weeks) ago my muse whispered in my ear. It seems she had this great idea for a children's book. The book married a picture book with a craft book. I finished my submission yesterday. I slipped it in the mail and it was gone. What will the publisher say? I must wait six months for the judgment.
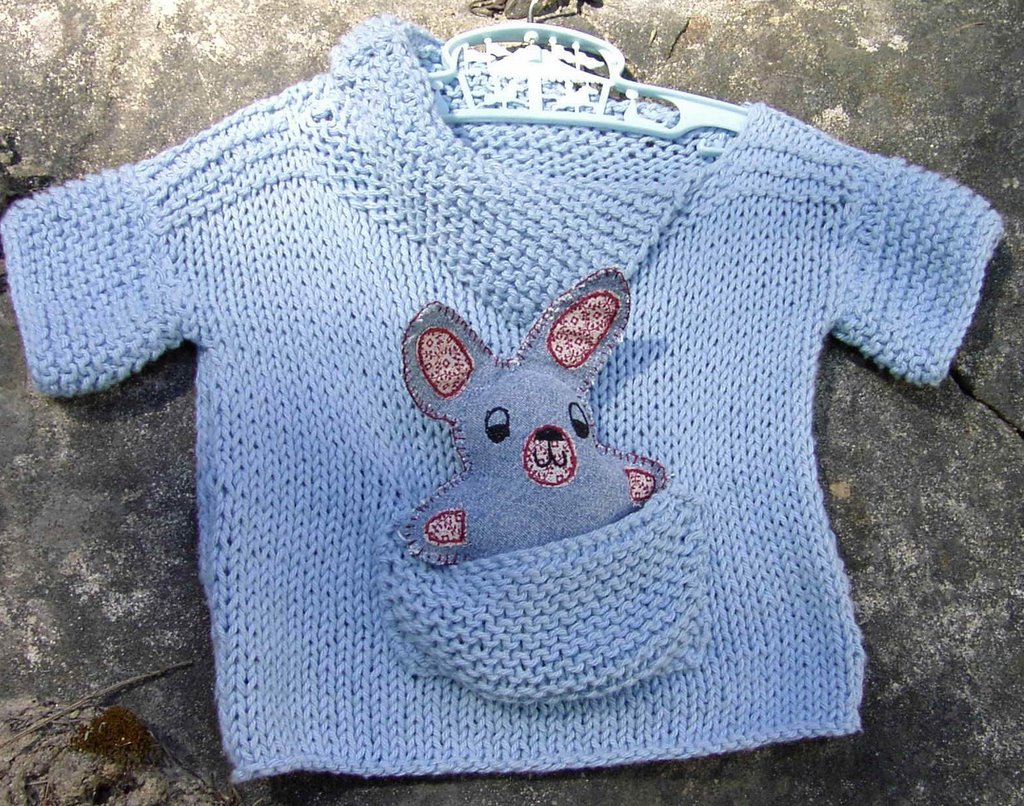
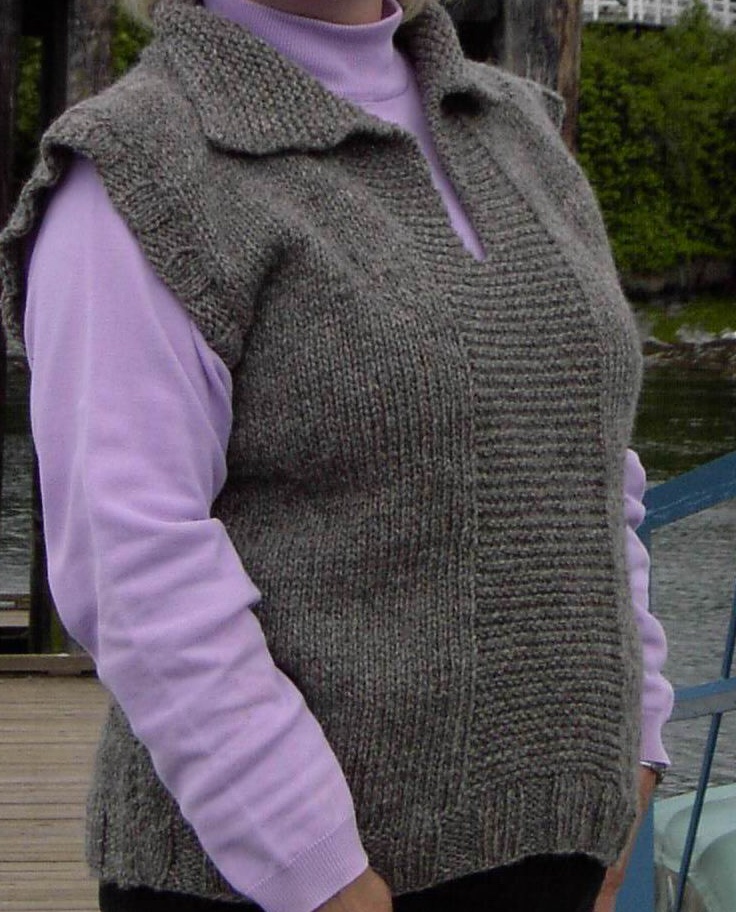
Many people have been awaiting my first pattern book. Well, I have decided that they shall wait no longer. I am currently working on such a book. More on this in future posts.
posted by Author Leanne Dyck at 11:26 AM
0 comments
![]()
![]()