Knitting I-cord
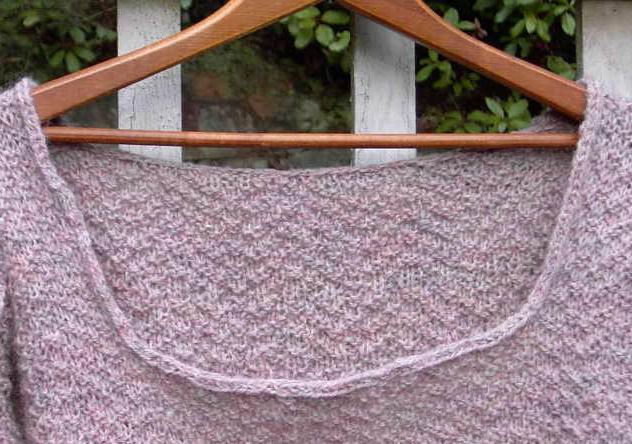 Knitting I-cord is one of my favourite knitting techniques. So it is not surprising that I used it for this sweater as well. Once you learn how to make the cord you will search for reason to make more. Trust me. Last year I taught someone how to knit I-cord and they made a I-cord rug. So see you have to learn.
  You need two double pointed needles and a small amount of yarn.
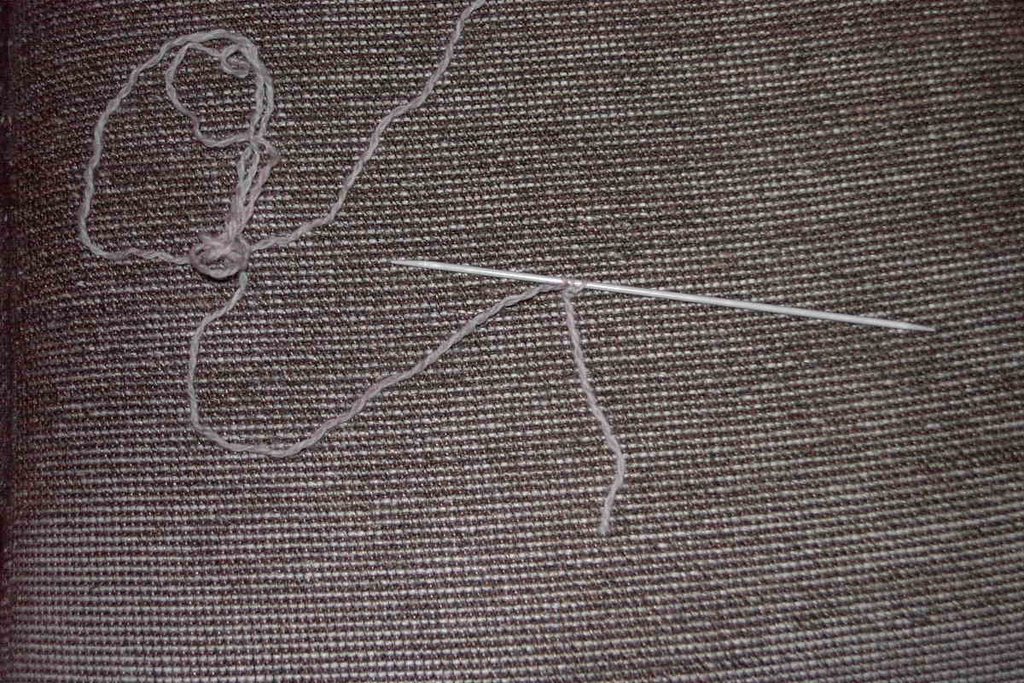 Cast on three to six stitches. I used three stitches. The more stitches you use the thicker your cord will be.
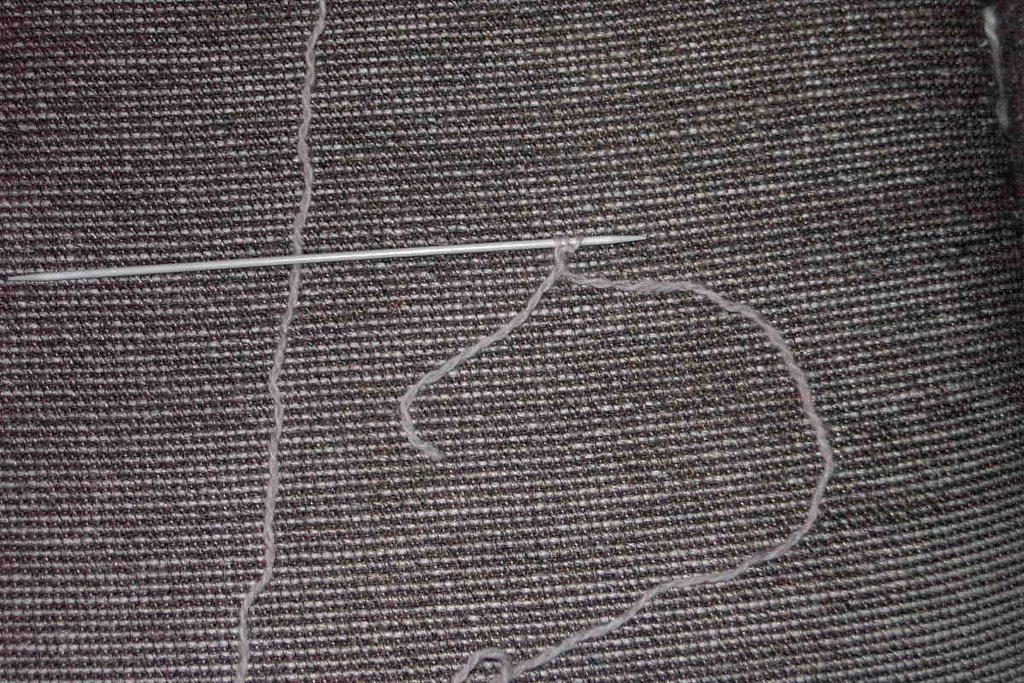 Bring the yarn forward.
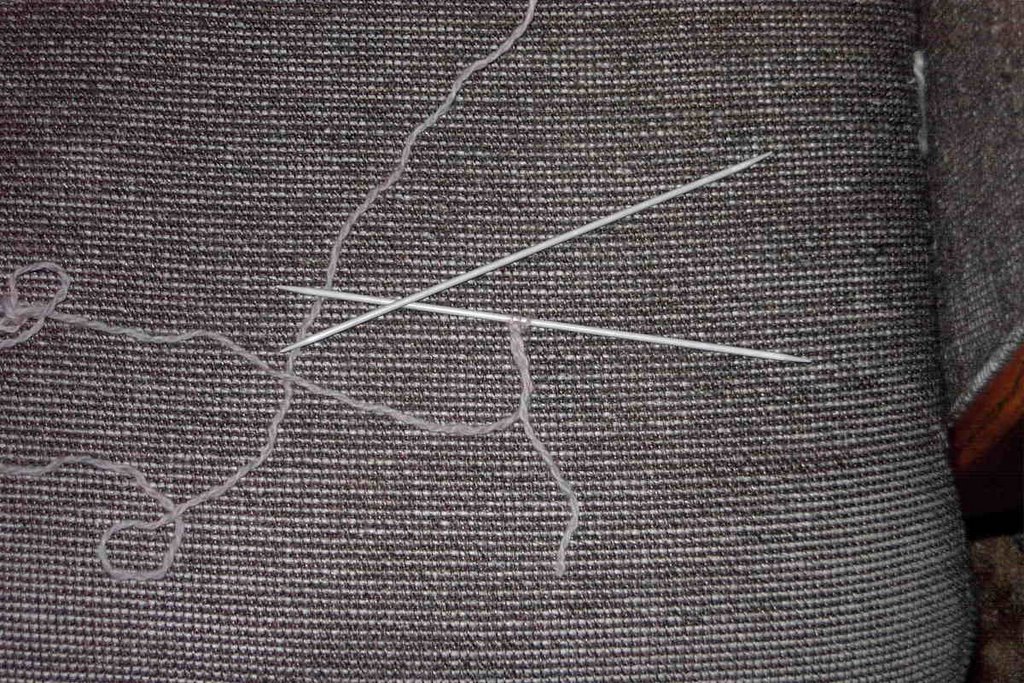 With right side facing you, *knit to the end of the row. Keep the right side of your work facing you, slide the stitches to the opposite end of the needle.* Repeat from * to *.
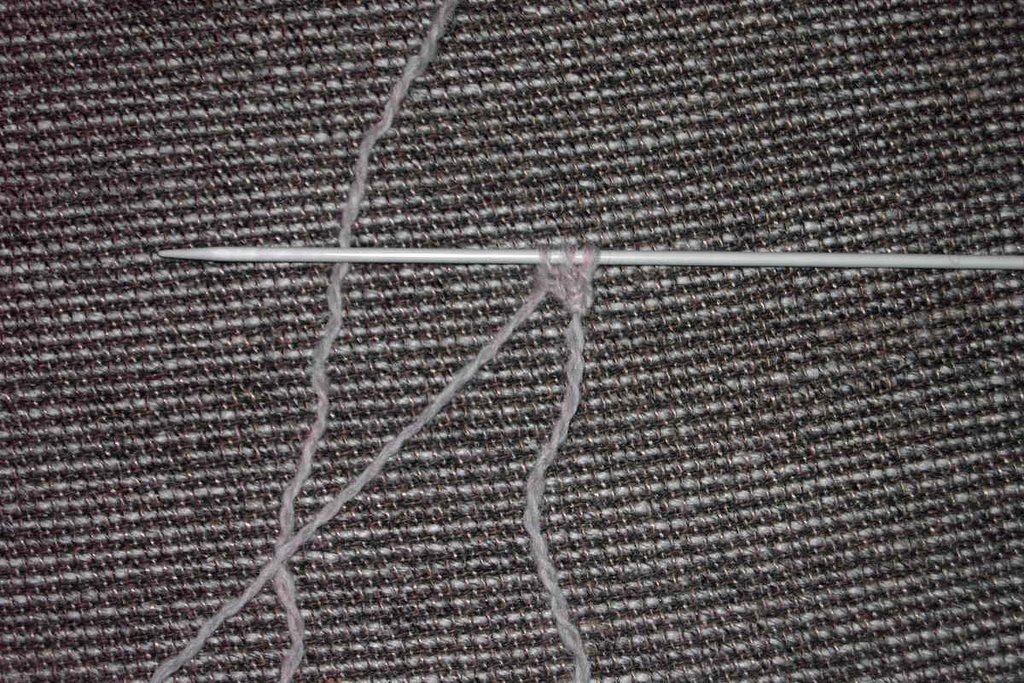
This will begin to create a tube. The picture is of the right side of the I-cord.
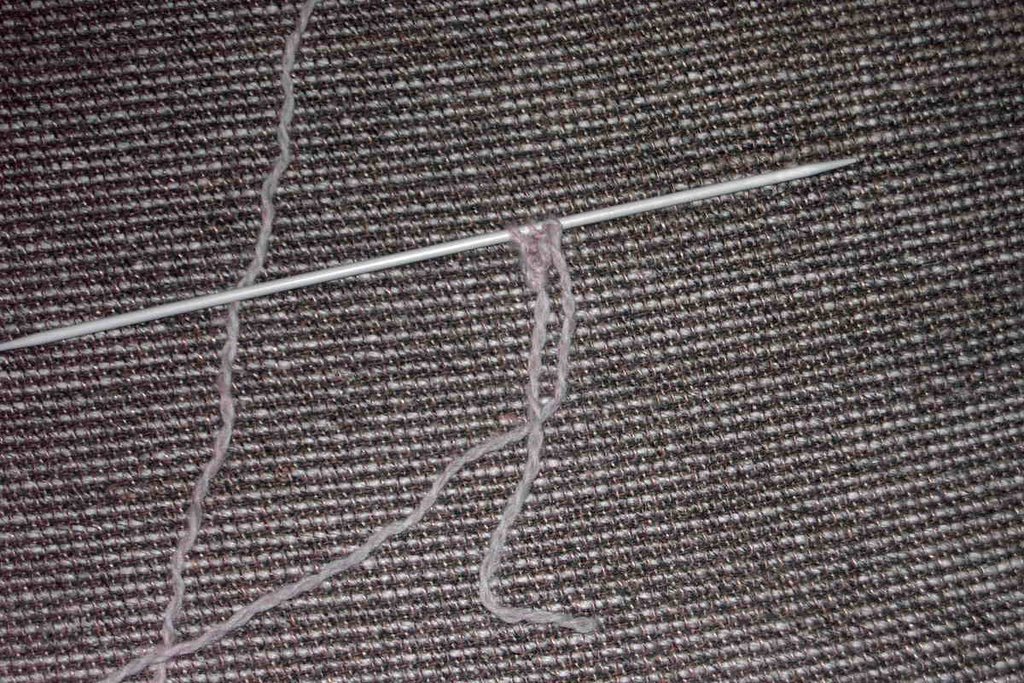 This is what the wrong side looks like. You will have what appears to be little ladders. Eliminate these by maintaining tension. I maintain tension by pulling the yarn end.
 ...and drum roll please this is what you will end up with: I-cord.
Learn from my mistake: I cast off and merrily began to sew on the I-cord. I thought I had enough cord. The key word being: thought. Well I ran out and had to make more and piece it together. I have assured myself that you can't tell. What I should have done is leave the stitches on the needle and begin to sew on the cord. Once it is obvious that there is sufficient cord then and only then cast off.
Here is a cool site I found on knitting I-cord: http://www.dnt-inc.com/barhtmls/knit/Icord.html
Well got to run another sweater calls.
posted by Author Leanne Dyck at 2:35 PM
![]()
![]()

0 Comments:
Post a Comment
<< Home